iPhone 2G users please navigate to:
If you’re Windows user and have iPhone 2G in your hands, Please make sure you have updated iTunes 8.2. you can update from iTunes or can also download iTunes 8.2 from here.
Before starting Jailbreaking iPhone 3G running OS 3.0 with RedSn0w, you need to download the following files:
Create a folder named RedSnow on your desktop for quick access. and put all the above downloaded files into it. Also extract the RedSn0w zipped file into that folder. Now your folder will look like this:

Step 1
Connect your iPhone 3G to your PC and launch iTunes.

From the left pane in iTunes, select your iPhone. Hold down the SHIFT key and click Restore button. Restore don’t waste space on your iPhone.
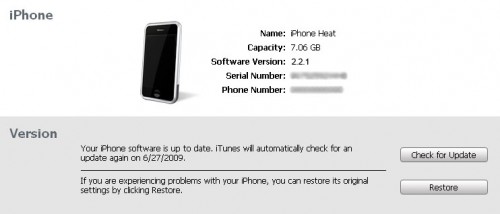
Navigate to the RedSnow folder your created in the start and select the firmware file (.ipsw) and hit Open.
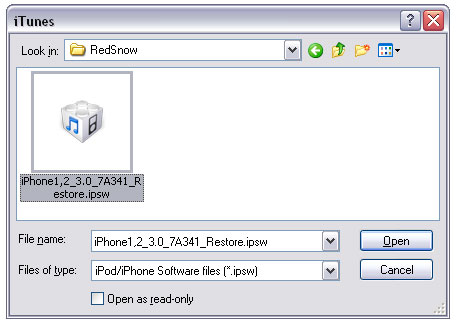
iTunes will start restoring your iPhone firmware to iPhone OS 3.0.
Step 2
When your iPhone is updated. execute the RedSn0w.exe from RedSn0w folder.
Step 3
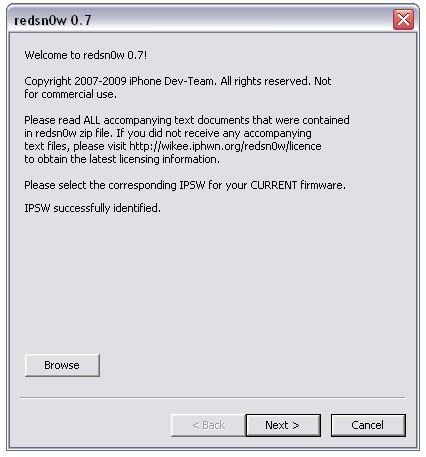
From RedSn0w click the Browse button and browse to the iPhone1,2_3.0_7A341_Restore.ipsw file in RedSnow folder. and click Open button.


Step 4
RedSn0w will verify your firmware. When it’s done, Click Next button to Continue
Step 5
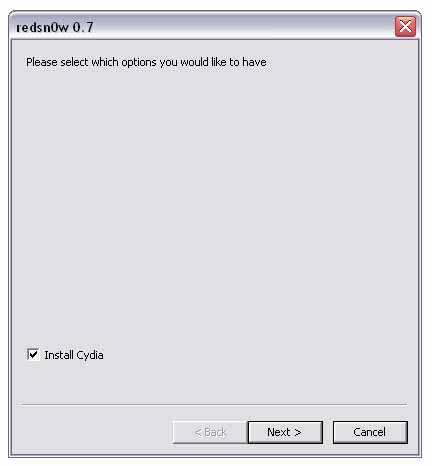
Check Mark Install Cydia option and click Next to continue.
Step 6
Make Sure your iPhone is connected via USB and Turn it OFF. Now click the Next Button.

Step 8
RedSn0w will guide you through some steps to get you into DFU Mode. Follow the instructions carefully.
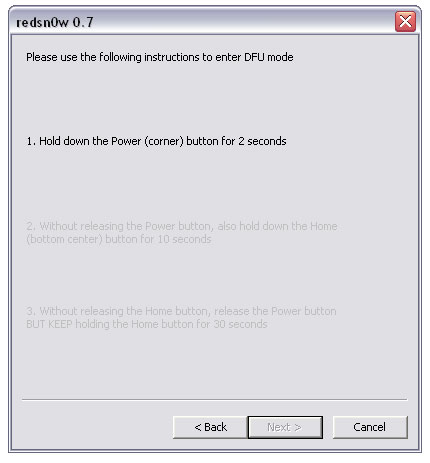
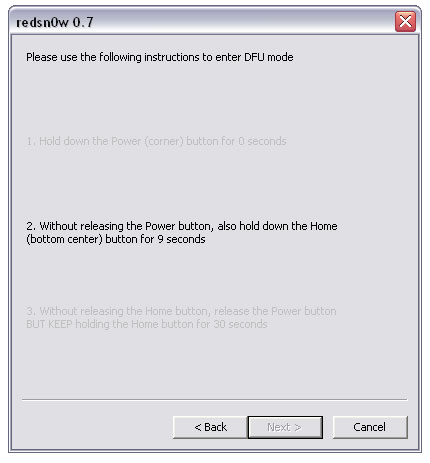
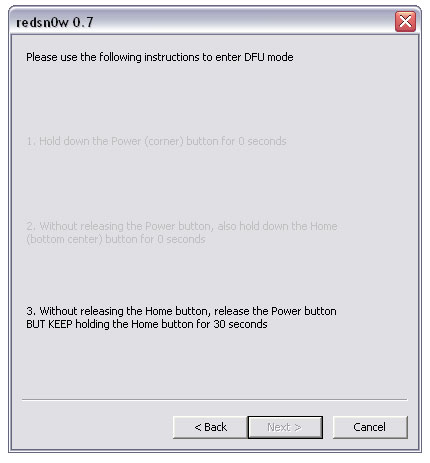
If you could not follow the instructions as they asked you to do, you would not get into DFU Mode resulting in the following error message:
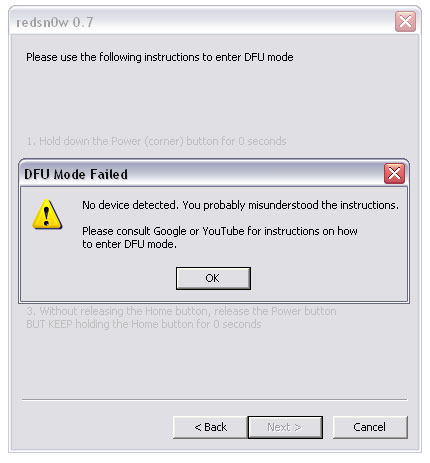
Click OK and then Retry the instructions.
Step 9
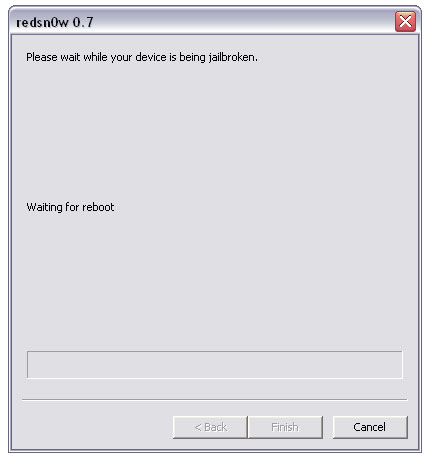
Once you get into the DFU Mode, some tricky stuff will be done with your iPhone and then iPhone will Reboot:
Step 10
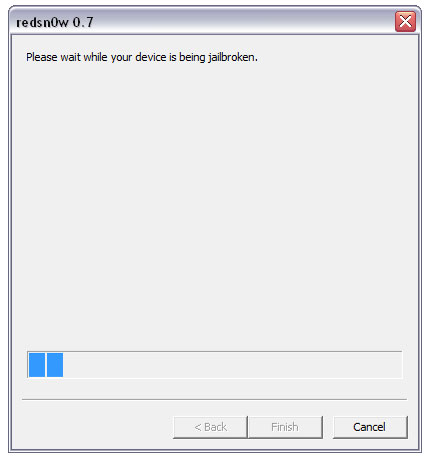
Now RedSn0w will start jailbreaking iPhone 3G by uploading new RAM Disk.
Step 11
Upon completion, RedSn0w will notify you that you’re Done!. Click the Finish Button. When iPhone finishes reboot, it will be Jailbroken having sweet Cydia icon on Springboard.
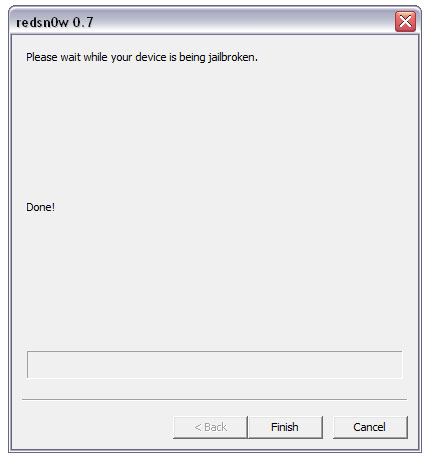
Your iPhone is Jailbroken! And ready to be unlocked.
Step 12
Launch the Cydia from your iPhone Springboard.
Step 13
Go to Manage Tab at the Bottom.
Step 14
Press the Big Sources Button.
Step 15
Press the Edit button at the Top Right of the Screen.
Step 16
Then press the Add button on the Top left of the Screen.
Step 17
Input the following URL: http://repo666.ultrasn0w.com/ and hit Add Source button.
*** That last “o” is actually the number zero “0”! If you use the letter “o” you’ll get an error.
Step 18
When Cydia is done with adding Source, Hit the big Return to Cydia button.
Step 19
Press the Done button at the Top Right.
Step 20
Then Press repo666.ultrasn0w.com under the User Added Sources.
Step 21
Select UltrSn0w from the list of packages.
Step 22
Hit Install button at the Top Right corner.
Step 23
Then Press the Confirm button at the Top Right.
Step 24
When the Installation is completed successfully, press Return to Cydia button.
Step 25
Press the Home button to go back to SpringBoard. Then Turn your iPhone OFF by holding down the power button for 3 seconds and then dragging the Power slider that appears to the right. Now Turn the iPhone 3G back ON.
Enjoy the SIM of any carrier on your just Unlocked iPhone 3G on OS 3.0.

